The following is my first attempt at implementing the thinning algorithms described in Davies’ Computer and Machine Vision book. This was one of the assignments in the Computer and Machine vision course I’m taking. As a bonus, there’s also some details on implementing the P4 PBM image format.
Fig. 1 - Original Image Test Image
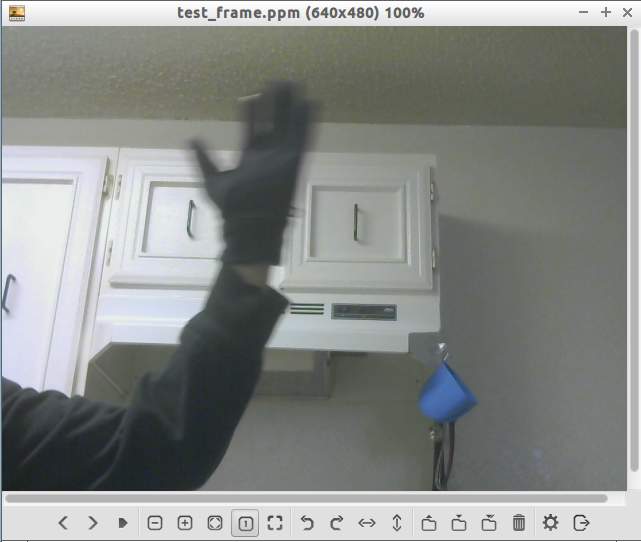
Fig. 2 - Background Image
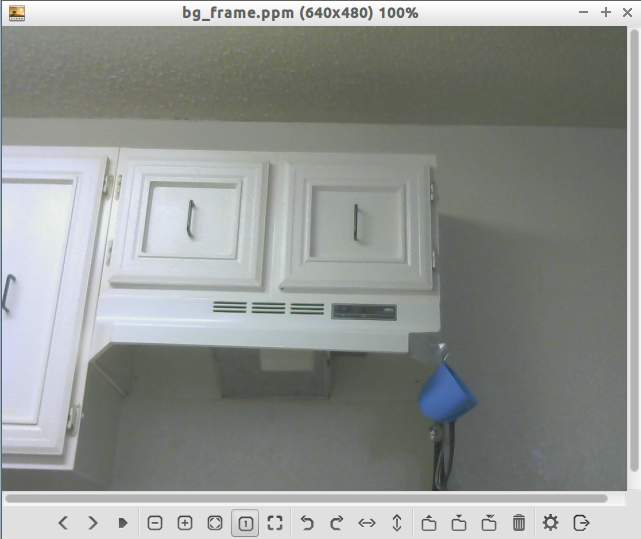
Fig. 3 - Step 1: Background Subtraction Image
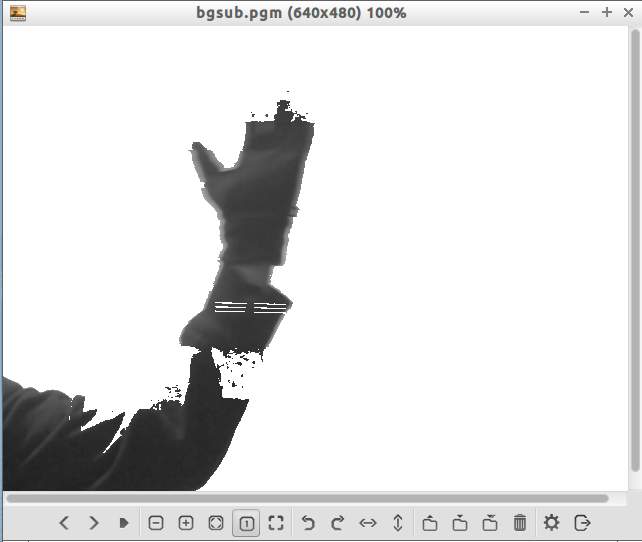
Fig. 4 - Step 2: Threshold Image
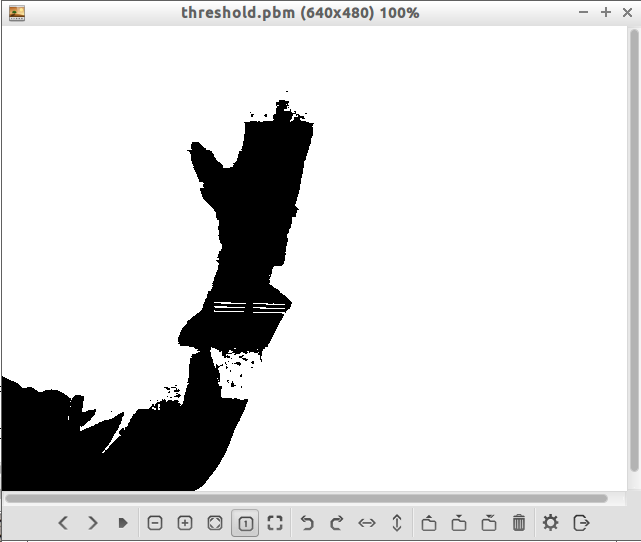
Fig. 5 - Step 3: Distance Labeling Image
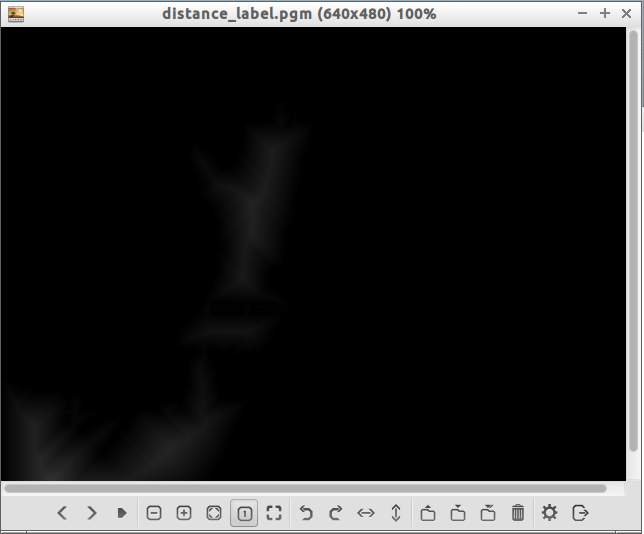
Fig. 6 - Step 4: Thinning Image
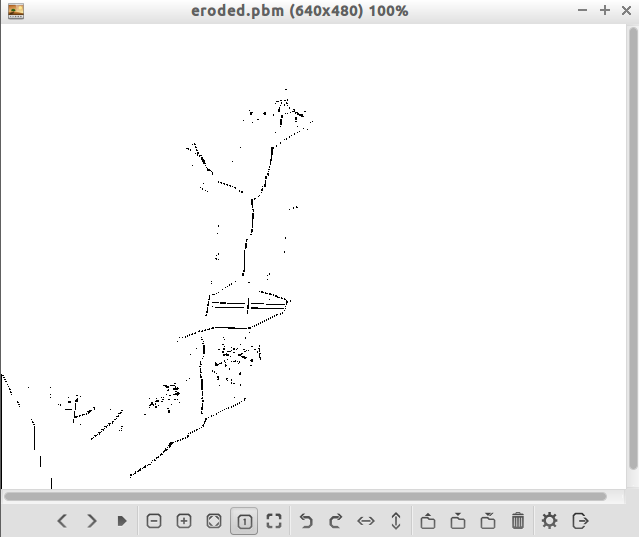
Fig. 7 - Step 5: Skeleton Image
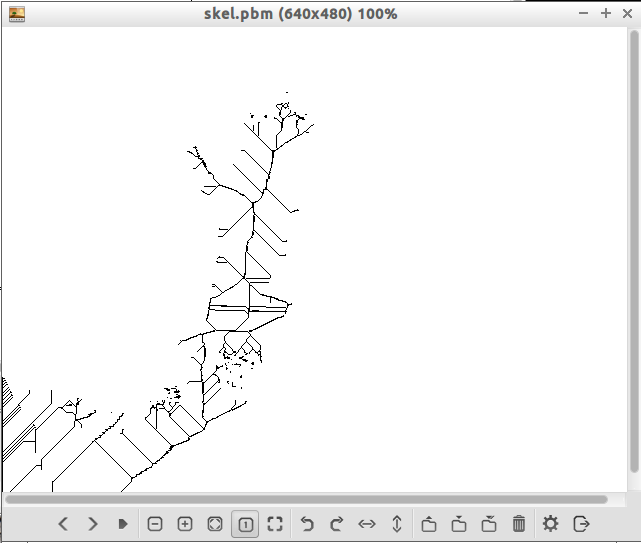
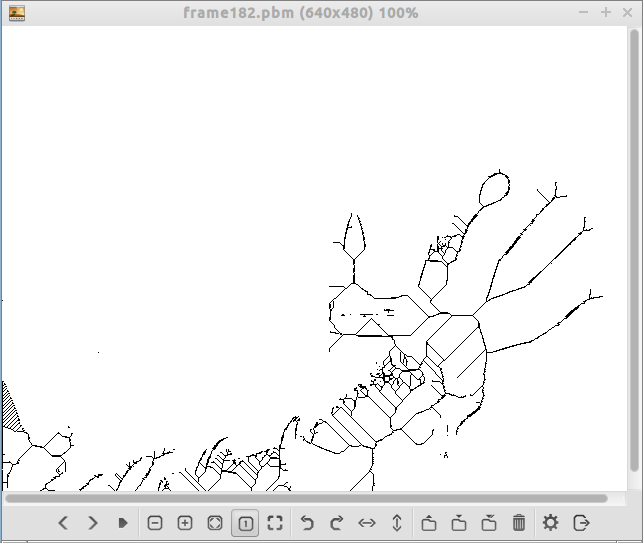
Fig. 8 - Step 5: Example Skeleton Output Image
There are three programs for ex4.
- capture_arm Simple OpenCV video capture program to record your arm and save images as jpg
- Usage:
capture_arm output_folder - Make sure output folder exists since there is no check here
- Convert jpg to ppm:
ffmpeg -i frames_dark/frame%d.jpg frames_dark_ppm/frame%d.ppm
- Usage:
- ex4 Takes prerecorded frames in ppm format and runs skeleton algorithm on each frame. Each frame is output in pbm format
- Usage:
ex4 input_folder output_folder - The frames are output in pgm format because ffmpeg does not seem to work with pbm.
- The frames can be converted into mp4 using ffmpeg:
ffmpeg -r 24 -i ouput_folder/frames%d.pgm ex4_video.mp4
- Usage:
- ex4_1 Performs the skeleton algorithm on a single image and outputs each step as an image
- Usage:
ex4_1 input_frame.ppm bg_frame.ppm output_folder
- Usage:
For ex4 and ex4_1 the following settings can be adjusted at compile time to work with specific images:
// Begin - Settings
#define DEBUG 1
#define DIFF_THRESH 40
#define DIFF_COLOR 255
#define THRESHOLD 200

// Only available in ex4
#define FILENAME_IN "%s/frame%d.ppm"
#define FILENAME_OUT "%s/frame%d.pgm"

// End - Settings
The steps used in my skeleton algorithm:
- Background subtraction - Remove the background. This is made easier because I’m wearing a black glove and sweatshirt. The green color plane is used instead of converting to gray-scale.
- Threshold - Threshold the image to make the image binary. In other words 1 will be black and 0 will be white
- Distance labeling - The distance labeling algorithm described in CMV chapter 9
- Thinning - Next apply the thinning algorithm also described in CMV chapter 9
- Skeleton algorithm - Guided skeleton algorithm (third variation?) described in CMV chapter 9 is partially implemented here. This includes the modification of not removing the black pixels from the step 4, but does not do the steps to remove the spurs and make the skeleton 1 pixel. Unfortunately ran out of time.
While learning how to implement the skeleton algorithm, I also implemented some of the examples described in chapter 9 of CMV:
- simple_skel - An “Obvious” sequential thinning algorithm on page 249
- simple_skel_2 - Can’t actually remember which algorithm this was based on
- simple_skel_3 - Uses the N-S-E-W thinning procedure described on 249 and 250
- simple_object_labeller - Simple object labeling described on page 233
- simple_object_labeller_2 - Based on improved object object labeling described on page 234 and 9.3.1 (Coexist table with numerical information)
- simple_dist_label - A parallel algorithm for propagating distance function on page 242
- simple_erode - A parallel algorithm for recovering Objects From Local Maxima of the Distance Functions on 244
Skeleton arm tracking with dark clothing
Skeleton arm tracking with bare arm
Skeletong arm tracking with OpenCV
The background subtraction worked very well in the video where I was wearing dark clothing. The skeleton looks decent, The noise spurs are noticeable and there are definite lines that are more than 1 pixel width wide.
In the t-shirt version, the background subtraction cuts off part of the arm and this results in the skeleton forming around the edges of my arm.
Fig 9 - Result of Background subtraction with t-shirt
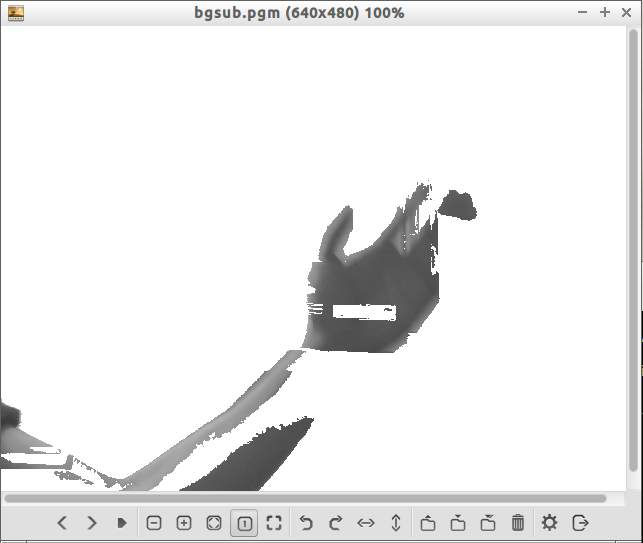
Fig 10 - Result of skeleton algorithm with t-shirt

Example log output from ex4
Processing frame 413...
--Reading frame 413...DONE...0.31595s
--BG subtraction frame 413...DONE...0.4348s
--Threshold frame 413...DONE...0.3442s
--Distance labelling frame 413...DONE...0.17745s
--Eroding frame 413...DONE...0.30399s
--Skeletonize frame 413...DONE...0.90771s
--Writing frame 413...DONE...0.13237s
--Clean up memory for frame 413...DONE...0.578s
Processing frame...DONE...0.192310s

Processing frame 414...
--Reading frame 414...DONE...0.31638s
--BG subtraction frame 414...DONE...0.4346s
--Threshold frame 414...DONE...0.3476s
--Distance labelling frame 414...DONE...0.17741s
--Eroding frame 414...DONE...0.30405s
--Skeletonize frame 414...DONE...0.90849s
--Writing frame 414...DONE...0.12736s
--Clean up memory for frame 414...DONE...0.549s
Processing frame...DONE...0.191915s

Processing frame 415...
--Reading frame 415...DONE...0.31652s
--BG subtraction frame 415...DONE...0.4345s
--Threshold frame 415...DONE...0.3451s
--Distance labelling frame 415...DONE...0.17770s
--Eroding frame 415...DONE...0.30421s
--Skeletonize frame 415...DONE...0.91881s
--Writing frame 415...DONE...0.12764s
--Clean up memory for frame 415...DONE...0.589s
Processing frame...DONE...0.193067s

Processing frame 416...
--Reading frame 416...Error opening frames_dark_ppm/frame416.ppm
Processing frame...DONE...0.92s

416 frames processed in 1854.703606s
Technical Issues
There were some technical issues with my implementation. Specifically the use of the pbm format caused major problems.
The pbm format has slightly different rules from pgm and ppm. For the P4 format, the 1s and 0s are encoded as bits and not integer values. This makes sense since 1s and 0s require only one bit to represent. For the P1 format, ascii characters are used to represent the 1s and 0s. This is similar to the P2 and P3 formats. The difference here is that lines need to end at 70 characters. The image viewer in Ubuntu renders the invalid pbm format correctly and made me assume that it would work. This was not the case when running the following ffmpeg command ffmpeg -r 24 output/frame%d.pbm video.mp4
Error output from ffmpeg:
*** THIS PROGRAM IS DEPRECATED ***
This program is only provided for compatibility and will be removed in a future release. Please use avconv instead.
Input #0, image2, from 'skel_out/frame%d.pbm':
    Duration: 00:00:17.33, start: 0.000000, bitrate: N/A
    Stream #0.0: Video: pbm, monow, 640x480, 24 fps, 24 tbr, 24 tbn, 24 tbc
File 'test.mp4' already exists. Overwrite ? [y/N] y
Incompatible pixel format 'monow' for codec 'mpeg4', auto-selecting format 'yuv420p'
[buffer @ 0x7000c0] w:640 h:480 pixfmt:monow
[avsink @ 0x6fd980] auto-inserting filter 'auto-inserted scaler 0' between the filter 'src' and the filter 'out'
[scale @ 0x6fe0a0] w:640 h:480 fmt:monow -> w:640 h:480 fmt:yuv420p flags:0x4
Output #0, mp4, to 'test.mp4':
    Metadata:
    encoder         : Lavf53.21.1
    Stream #0.0: Video: mpeg4, yuv420p, 640x480, q=2-31, 200 kb/s, 24 tbn, 24 tbc
Stream mapping:
    Stream #0.0 -> #0.0
Press ctrl-c to stop encoding
Error while decoding stream #0.0
Error while decoding stream #0.0
Error while decoding stream #0.0
Error while decoding stream #0.0
After patching ex4 and ex4_1 to write valid pbm images, ffmpeg would still not work.
Original version:
void write_pbm(char filename_out[], PNM_Meta *pbm_meta, UINT8 **data)
{
    FILE *fpout;
    int i;
    int j;
    UINT8 out;

    if ((fpout = fopen(filename_out, "w")) == NULL) {
        LOG(("Error writing %s\n", filename_out));
    }
    fwrite((void *)pbm_meta->header, pbm_meta->header_length, 1, fpout);

    for (i = 0; i < pbm_meta->height; ++i) {
        for (j = 0; j < pbm_meta->width; ++j) {
            out = P1_WHITE + data[i][j];
            fwrite((void *)&out, 1, 1, fpout);
        }
    }
    fclose(fpout);
}
Patched version with fixed line widths:
void write_pbm(char filename_out[], PNM_Meta *pbm_meta, UINT8 **data)
{
    FILE *fpout;
    int i;
    int j;
    int line_len;
    int max_line_len = 69;
    char newline = '\n';
    UINT8 out;

    if ((fpout = fopen(filename_out, "w")) == NULL) {
        LOG(("Error writing %s\n", filename_out));
    }
    fwrite((void *)pbm_meta->header, pbm_meta->header_length, 1, fpout);

    line_len = 0;
    for (i = 0; i < pbm_meta->height; ++i) {
        for (j = 0; j < pbm_meta->width; ++j) {
            out = P1_WHITE + data[i][j];
            fwrite((void *)&out, 1, 1, fpout);
            ++line_len;
            if (line_len == max_line_len) {
               fwrite((void *)&newline, 1, 1, fpout);
               line_len = 0;
            }
        }
    }
    fclose(fpout);
}
The quick fix for the ffmpeg and pbm issue was to convert from pbm to pgm. This required using imagemagick and running mogrify on the pbm output images
# If image magick not installed
sudo apt-get install imagemagick

mogrify -path skel_out_pgm -format pgm skel_out/*.pbm
In the final code, the ex4 program outputs images in pgm format instead of pbm.
There’s a bit too much code to post here, so check out the Gist if you’re interested in the code.